Using the iOS App + A tip for iPad users
This session goes over how to use the free Teachable iOS app.
(There is not an Android equivalent at this time - if you don't have an iOS device just click "Complete and continue" at the top right)
Downloading the iOS App
- Go to the App Store on your device. (The app is compatible with iPhone, iPad, and iPod touch.)
- Search for Teachable.
- Click the +Get button. Click Install. Enter your Apple ID password or Touch ID if prompted.
Using the iOS App
- After downloading the app, open the app by select the Teachable icon (teal and white “t”) from your iOS homescreen.
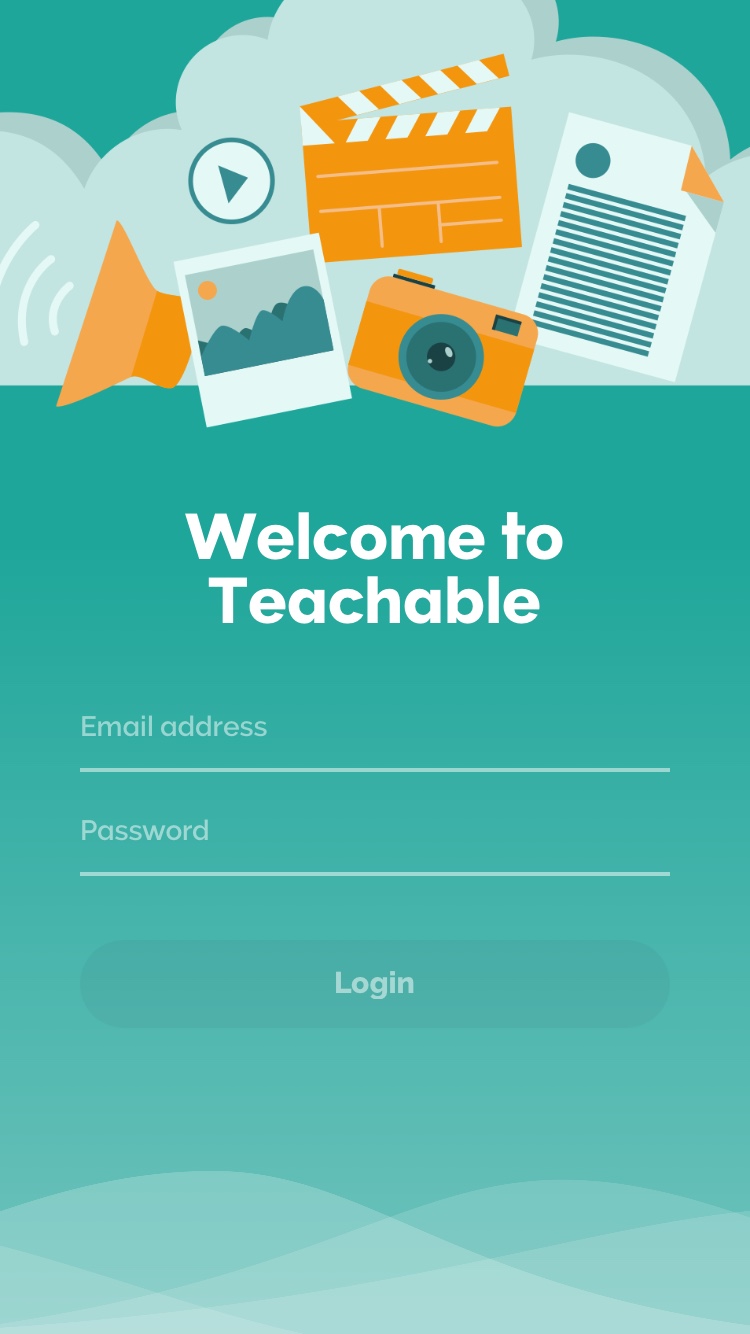
- As a new iOS app user, you will be brought to the login screen.
- Enter the email address and password associated with your myTeachable account.
- Upon successful login, you will be brought to all your current school and course enrollments accessible through myTeachable.
- Select the course you wish to view, which will bring you inside the course area, where you can start to work through lecture content.
Things You Can Do Inside the App
- Access all your courses on myTeachable-enabled schools
- Stream videos and view handouts/worksheets while on the go
- Pick up where you left off: your course progress is automatically synced between the iPhone app and your Teachable school(s)
- Easily jump from lecture to lecture, and course to course
- Take lecture quizzes and see your results
- Complete lectures and track your progress
Here is another tip/option for iPad Users
You can create a bookmark on your iPad home screen to take the you directly to your course.
Follow these steps:
- Make sure that the page you want to bookmark is open, and then tap the Action button at the top of the screen. The Action button looks like an arrow trying to escape a rectangle.
- Tap Add Bookmark. A new window opens with a default name for the bookmark, its web address, and its folder location.
- To accept the default bookmark name and default bookmark folder, tap Save.
- To change the default bookmark name, tap the X in the circle next to the name, enter the new title (using the virtual keyboard), and then tap Save.
- To change the location where the bookmark is saved, tap the > symbol in the Bookmarks field, tap the folder where you want the bookmark to be kept, tap the Add Bookmark button in the upper-left corner of the screen, and then tap Save.
When you tap your bookmark it will run just like an application on your iPad.
2 comments